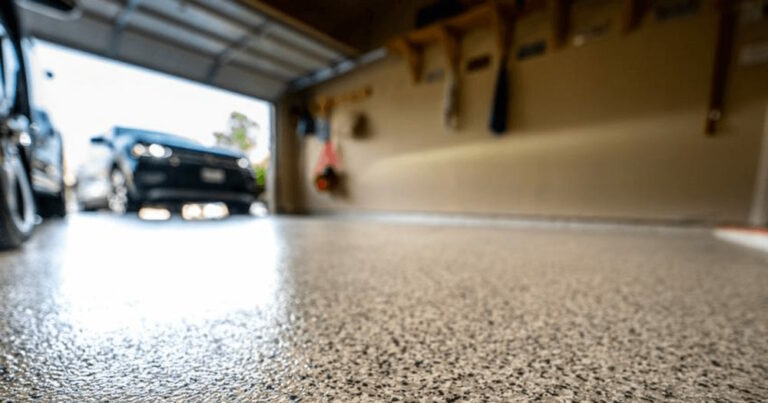
Welcome to our guide on how to prep a garage floor for epoxy coatings. By following these proven preparation techniques, you can ensure that your garage floor is epoxy-ready and will provide a long-lasting, durable, and high-quality finish.
Preparing a garage floor for epoxy application is a crucial step in achieving a flawless finish. With years of experience in garage floor coatings, we have identified step-by-step techniques that can help you prep your garage floor for epoxy like a pro.
Follow our guide below to get started.
Key Takeaways:
- Proper preparation is essential in achieving the best epoxy finish on your garage floor.
- Assessing the condition of your garage floor, cleaning, repairing cracks and imperfections, and grinding are all necessary preparation steps.
- Acid etching is an optional, but highly recommended preparation step to improve adhesion.
- Taping and protecting surrounding areas is also important to prevent spills and splatters.
- Contact a professional, like Canyon Painting, for assistance or a free estimate.
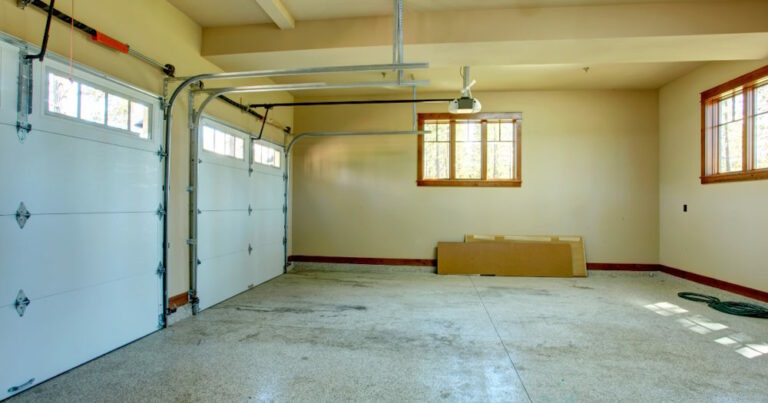
Assessing the Garage Floor Condition
Before we dive into the preparation process, let’s assess the condition of the garage floor to ensure that it’s ready for epoxy coating. Look for any cracks, stains, debris, or oil spots that may exist on the surface.
- Cracks: Check the garage floor for any cracks or breaks in the surface. It’s important to repair these before applying epoxy to ensure a smooth and durable finish.
- Stains: Look for any stubborn stains on the garage floor. Oil and grease stains can often be found in garages and must be removed before epoxy can be applied.
- Debris: Make sure the garage floor is free of any debris such as loose dirt, leaves, or other materials. These can affect the adhesion of the epoxy and create an uneven surface.
- Oil: Remove any oil spots or spills from the garage floor using a degreaser before continuing with the preparation process.
By assessing these potential issues before we begin, we can ensure that the garage floor is ready for epoxy and that we’ll achieve the best possible finish.
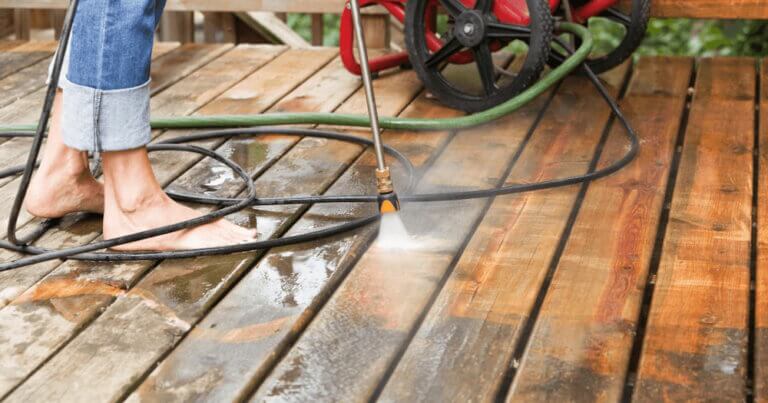
Cleaning the Garage Floor
Now that we’ve assessed the condition of your garage floor, it’s time to get it squeaky clean. Let’s start by sweeping the entire area to remove loose dirt and debris. Make sure to remove any objects on the floor to get a clear level surface to work on.
Once all the loose dirt has been swept away, use a stiff-bristled brush and a cleaning solution to scrub the surface of the floor. You can use a commercial concrete cleaner or make your own by mixing dish soap with warm water. Scrub the surface thoroughly, paying extra attention to any stains or marks on the floor. Rinse the floor with a hose to remove any remaining dirt or cleaning solution.
It’s important to make sure that the garage floor is completely dry before moving on to the next step. You can either let it air dry or use a shop vac to remove any excess water from the surface.
Cleaning the floor is an essential part of preparing it for the epoxy application. Skipping this step can cause the epoxy to not properly adhere to the surface, leading to an uneven finish and delamination. So don’t rush this step and make sure to clean and dry the surface thoroughly.
Repairing Cracks and Imperfections
At this point, we need to take care of any cracks or imperfections on your garage floor. It is essential to repair them before applying epoxy to achieve a smooth and flawless surface. Use a concrete repair compound to fill in any cracks and level the surface. Allow the repairs to dry entirely before moving on to the next steps.
- Inspecting the garage floor, and noting any cracks, is crucial before we begin the repair process.
- Using a concrete repair compound, fill in any cracks, and level the surface to ensure proper adhesion and longevity of the epoxy.
- Before moving on to the next steps, ensure that the repairs are completely dry to avoid any issues during the epoxy installation process.
Now that the garage floor is free of any cracks or imperfections, we are ready to move onto the next step.
Grinding the Garage Floor
For a smooth and even epoxy application, grinding the garage floor is a crucial step. This process removes any existing coatings and smoothens the surface, ensuring that the epoxy adheres better. You can use either a hand grinder or a machine equipped with a diamond grinding wheel, depending on your preference and the size of the garage floor.
During the grinding process, concrete dust is generated, so it’s important to wear knee pads to protect your knees. Doing so will ensure that you remain safe and comfortable while preparing your garage floor.
Once you’re finished with the grinding process, sweep and vacuum the floor to remove any remaining concrete dust. This will leave you with a clean, rough surface that’s perfect for epoxy coating.
Acid Etching (Optional)
At this stage, we can take an optional step that can further enhance the adhesion of epoxy to the garage floor. Acid etching is a process that involves applying an acid solution to the concrete surface. The acid reacts with the concrete surface, forming a chemical reaction that roughens the surface.
When acid etching, it’s important to wear protective gear, such as gloves and goggles, to protect yourself from the acid solution. After the acid has had time to react and has been rinsed off, neutralize the surface with a baking soda solution. This will help to neutralize the acid and prevent any future chemical reactions.
Rinse the surface thoroughly with clean water to ensure all acid and neutralizing solution has been removed.
It’s important to note that acid etching is not always necessary for every garage floor. If you’re unsure if your garage floor requires acid etching, consult with a professional or follow the manufacturer’s instructions for your specific epoxy product.
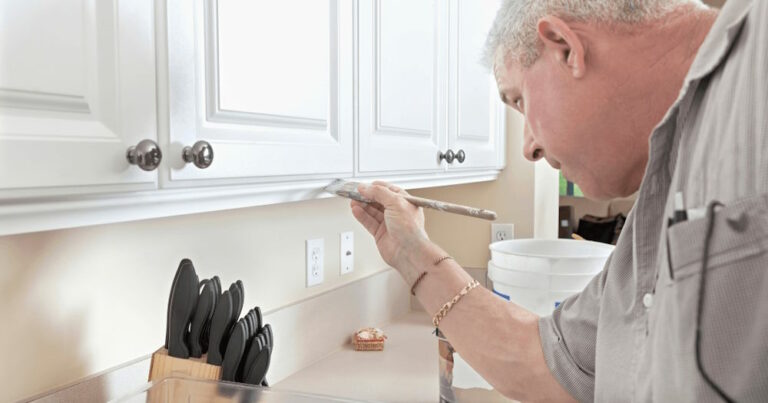
Tape and Protect Surrounding Areas
When it comes to applying epoxy to your garage floor, it’s important to protect the surrounding areas, including the walls and any items you don’t want to get epoxy on. A simple way to do this is by using painter’s tape to create crisp lines and cover any areas that need to be protected. This will ensure that the epoxy stays where it’s supposed to and doesn’t accidentally get on other surfaces.
For larger areas that need to be covered, consider using plastic sheeting. This will prevent any accidental spills or splatters from getting onto surrounding surfaces. Once you’ve applied the sheeting, use painter’s tape to secure it in place and ensure that it doesn’t move while you’re working on the epoxy.
By taking the time to properly tape and protect the surrounding areas, you can ensure that your garage floor epoxy project goes smoothly and without any unwanted messes. Let’s move on to the next step in the garage floor epoxy process!
Conclusion
At Canyon Painting, we understand the importance of achieving a durable and long-lasting finish for your garage floor. That’s why we recommend following these effective preparation techniques to ensure that your garage floor is ready for epoxy installation.
If you need professional assistance with epoxy installation, we are here to help. Contact us today for a free estimate and let us take care of your garage floor epoxy needs. With our expertise and commitment to quality, you can trust us to deliver a stunning and durable finish that will enhance the look and function of your garage. Choose Canyon Painting for all your garage floor epoxy needs.
FAQ
How do I assess the condition of my garage floor?
Before starting the preparation process for epoxy coating, assess the condition of your garage floor. Look for cracks, stains, debris, and any oil spots. These issues should be addressed and repaired before applying epoxy to ensure a smooth and durable finish.
How do I clean my garage floor before applying epoxy?
To clean your garage floor, start by sweeping the entire area to remove loose dirt and debris. Then, use a stiff brush and a cleaning solution to scrub the surface thoroughly. Rinse the floor with a hose to remove any remaining dirt or cleaning solution.
How do I repair cracks and imperfections on my garage floor?
To repair cracks and imperfections, use a concrete repair compound to fill in the cracks and level the surface. Allow the repairs to dry completely before moving on to the next steps of the epoxy installation process.
How do I grind my garage floor for epoxy?
Grinding the garage floor is an important step in preparing it for epoxy. Use a hand grinder or a machine equipped with a diamond grinding wheel to remove any existing coatings, smoothen the surface, and enhance the adhesion of the epoxy. Remember to wear knee pads to protect yourself from concrete dust during the grinding process.
Is acid etching necessary for my garage floor?
Acid etching is an optional step that can further enhance the adhesion of epoxy to the garage floor. It involves applying an acid solution to the concrete surface, creating a chemical reaction that roughens the surface. If you choose to acid etch, make sure to neutralize the surface and rinse it thoroughly. Always wear protective gear, such as gloves and goggles, when working with acid.
How do I tape and protect the surrounding areas before applying epoxy?
Before applying epoxy, it’s important to tape and protect the surrounding areas, including the walls and any items you don’t want to get epoxy on. Use painter’s tape to create crisp lines and cover any areas that need to be protected. For larger areas, use plastic sheeting to prevent any accidental spills or splatters.